
Every week, Madison (my 10-year old daughter) and I teach a 1.5-hour afterschool science club for K-2nd graders. Each week she helps plan the lesson and then we write the blog about what we did.
We learned most of the science experiments and activities from Steve Spangler (awesome speaker and science guy extraordinaire). We have included links to his science supplies, experiments, and videos. We also include links to our YouTube videos. These links take you away from the blog and to external websites.
Lesson 4
Science of Air Pressure #1
Science Standards Addressed:
- Describe the characteristics of the 3 states of matter.
- Know that air takes up space and exerts a force.
Plus we snuck in some speaking and listening standards like asking questions, expressing ideas, following multi-step directions, and participating in discussions.
10 minutes
As the children arrived we played the songs Something in the Air, by Tom Petty and the Heartbreakers, and Love is Like Oxygen, by Pilot.
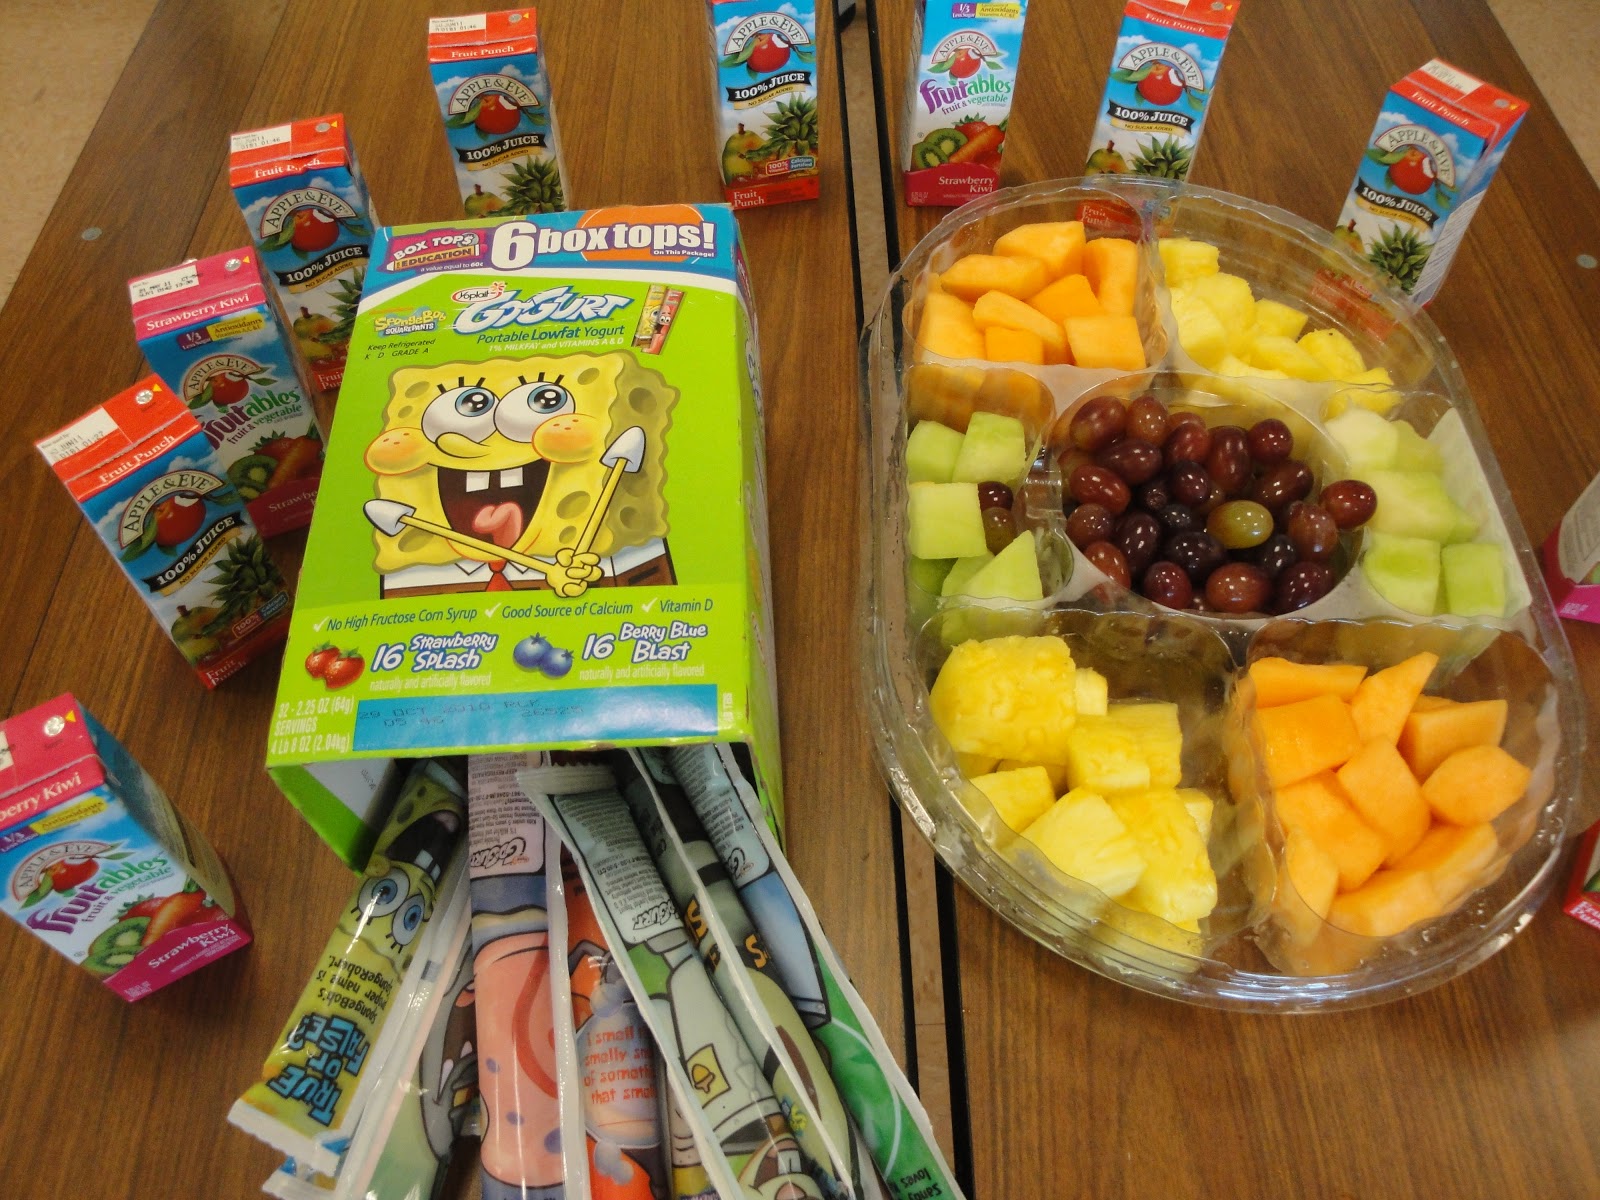 |
| We had a snack that once again was a hint of the science to follow. |
 |
| Madison read the Pearl Diver, by Julia Johnson. |
- a story of a little boy, Saeed, and his father, and what happened when for the first time Saeed accompanied him on one of the long diving expeditions aboard a sambuk - one of the great pearling boats. It describes the often hazardous world of the pearl divers. It is illustrated by Patricia Al Fakhri. Great watercolor illustrations!
10 Minutes Ye Olde’ Egg in the Bottle Trick We began the lesson with something guaranteed to engage their emotions and elicit squeals and cheers. We found a high-quality glass milk bottle
and replicated a favorite demo from my childhood, but with a new twist we learned from Steve. See the full experiment!
- An egg-cellent and egg-citing egg-speriment and demonstration of air pressure!
 |
| We peeled a hard-boiled egg, stuck 3 birthday candles in it, lit them, and stuck the lighted end of the egg into the INVERTED bottle. |
Some people think the fire burns the oxygen creating a vacuum that sucks the egg into the bottle. Really the fire warms the air – expanding it – forcing air out of the bottle. This is what scientists refer to as a “partial vacuum.”  | ||||
| When the flame goes out, the molecules of air in the bottle cool down and move closer together.
|


Now how do we get the egg OUT of the bottle? We could stick a knife into the bottle and chop the egg into pieces small enough to fall out – but that would be MESSY! So by applying a little scientific reverse psychology, we can push that egg back out.
 |
| We blow air into the bottle, so there is more pressure inside than outside. |
 |
| The air inside cleanly deposits the egg right back into my waiting hand. |
10 Minutes
The Plunger Demo It is simple. Stick your plunger on a flat surface.
 |
| Be prepared for giggles because it might make a FARTING noise! |
It's atmospheric pressure in action. When you force air out of the plunger, there is less air pressing back from inside than there is pushing from the outside. A great way to show that suction cups stay stuck because of the pushing force of air, not from a pulling "suction" force.
Cartesian Divers – Meet Hook and Squidy
 |
| We found some cool Cartesian diver kits that double as fun toys! |
The youngest kids required a LOT of help getting their divers just right. We were so busy helping everyone, we forgot to take good pictures of them playing and having fun with science.
So what IS the science behind this? The classic Cartesian (Ren Descartes, a French scientist and mathematician who used the diver to demonstrate gas laws and buoyancy) diver experiment is set up by placing a "diver"—a small, rigid tube, open at one end, such as an glass eyedropper into a larger container (2-liter bottle) filled with liquid (water). The "diver" is partially filled with a small amount of water, but contains enough air so that it floats at the top (just barely) while being almost completely submerged.
The "diving" occurs when the flexible part of the larger container is pressed inward, causing the "diver" to sink to the bottom until the pressure is released, when it floats again. When the container is squeezed, the pressure is spread through the liquid.
 |
| Pascal's Principle - pressure on a fluid is transmitted unchanged throughout the fluid. |


